
Adding a new time entry is done via the Add Entry dialog, which can be accessed on any page in Time IQ.
Showing Add Entry Dialog
Click ‘Add Entry’
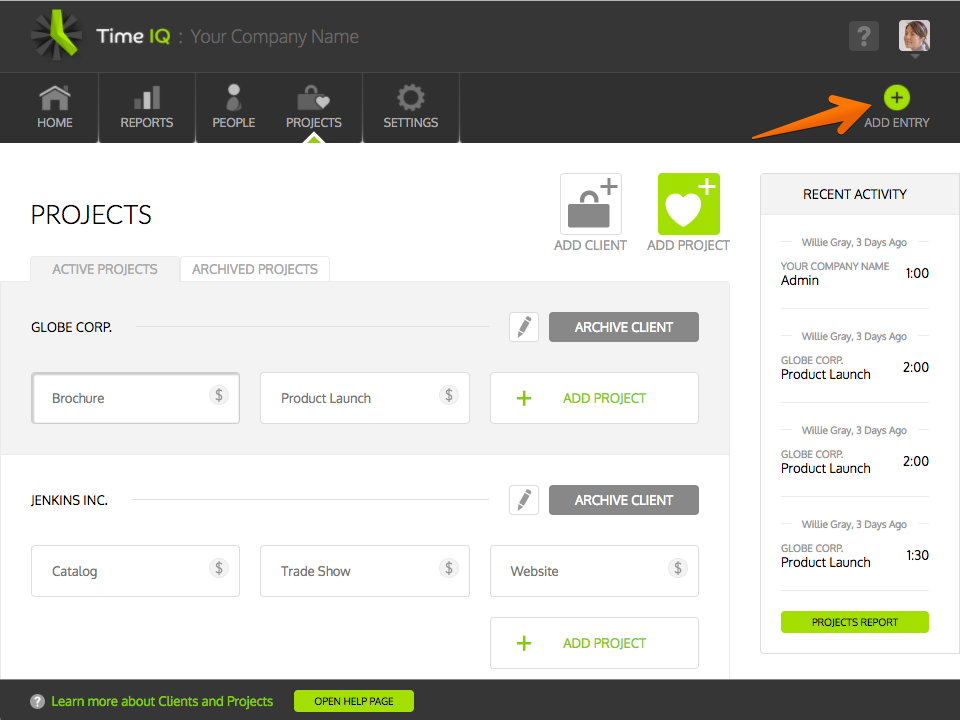
The ‘Add Entry’ button in the top nav will be available throughout the entire site.
Press The ‘N’ Key
As long as there are no focused input fields on the page, pressing ‘N’ will add a new entry.
Creating New Time Entry
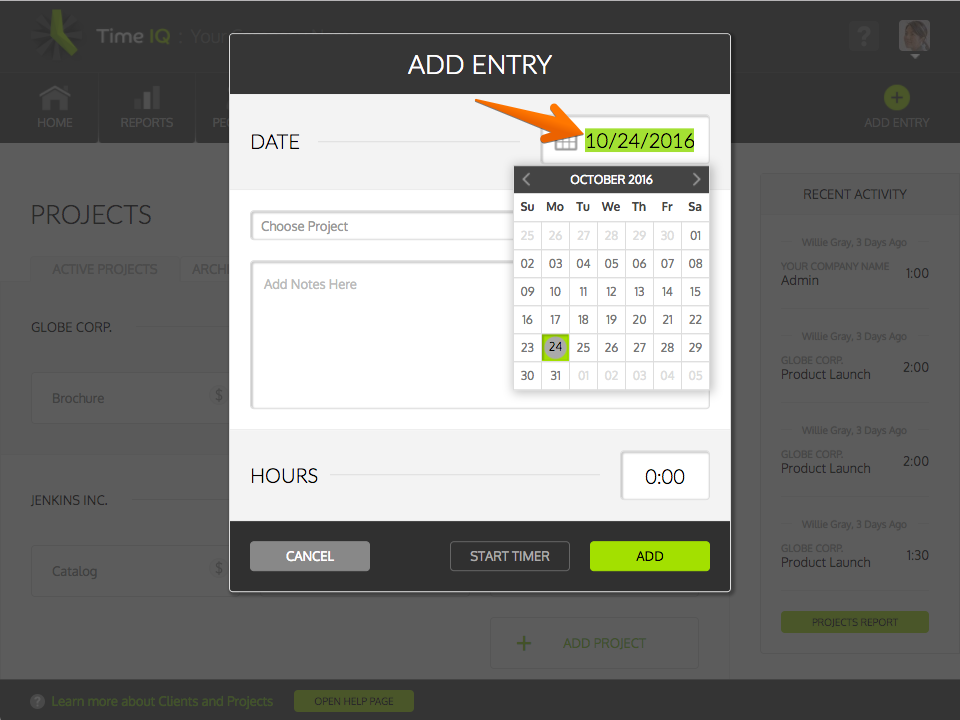
1: Select Date (optional)
2: Select Project
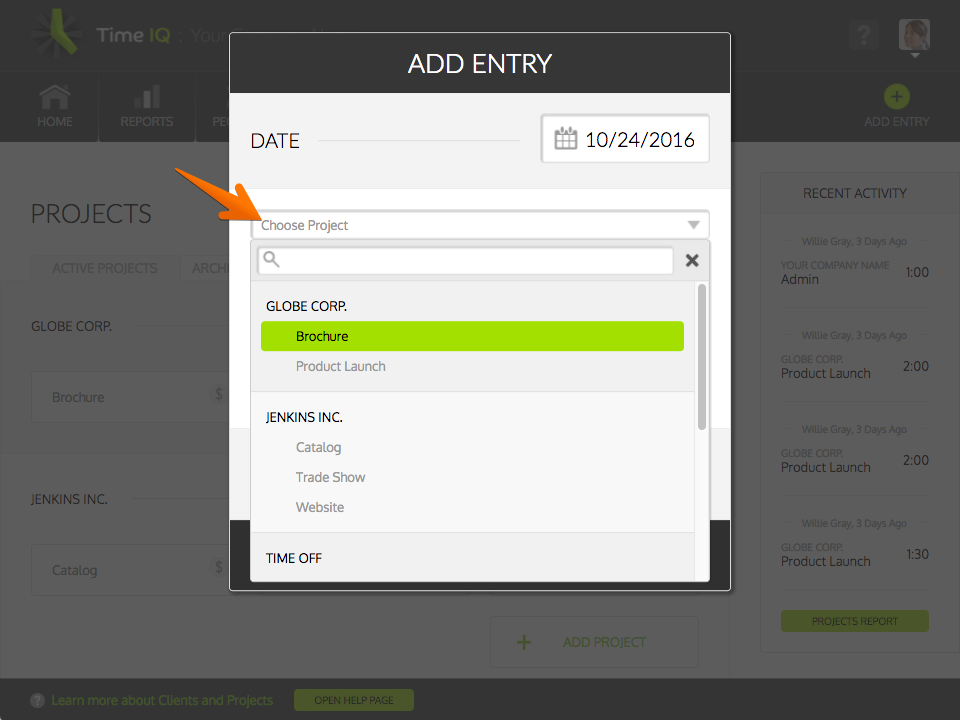 Clicking on the Project input will show a drop-down with a list of Projects that you have logging rights to.
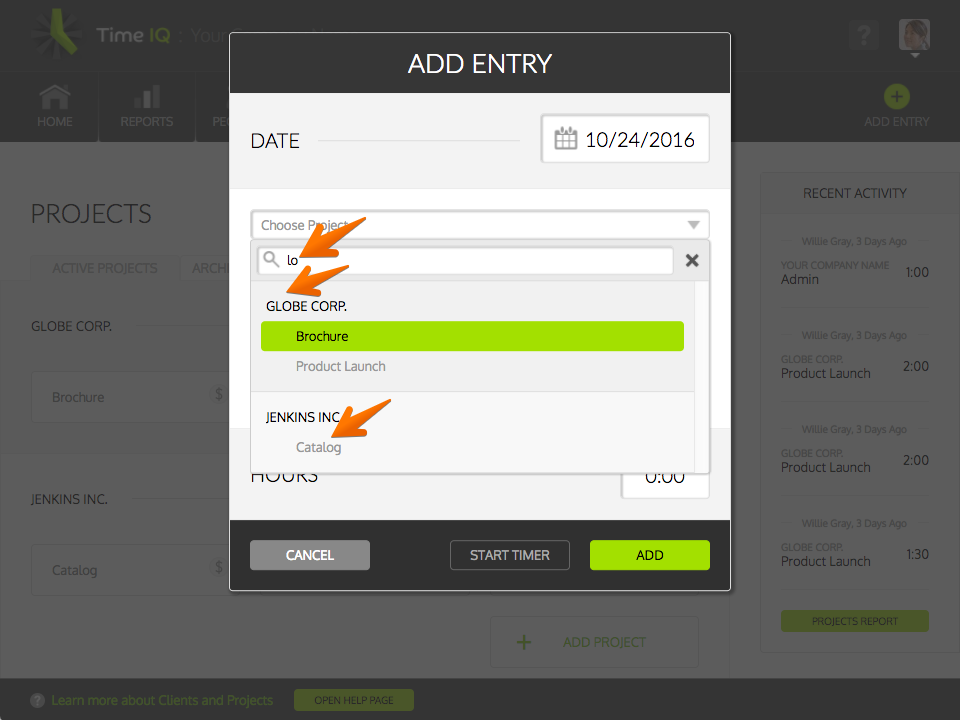 By typing in the Project search bar, you can narrow down the items in the list. Note that searching will match both Clients and Projects.
3: Select Service (optional)
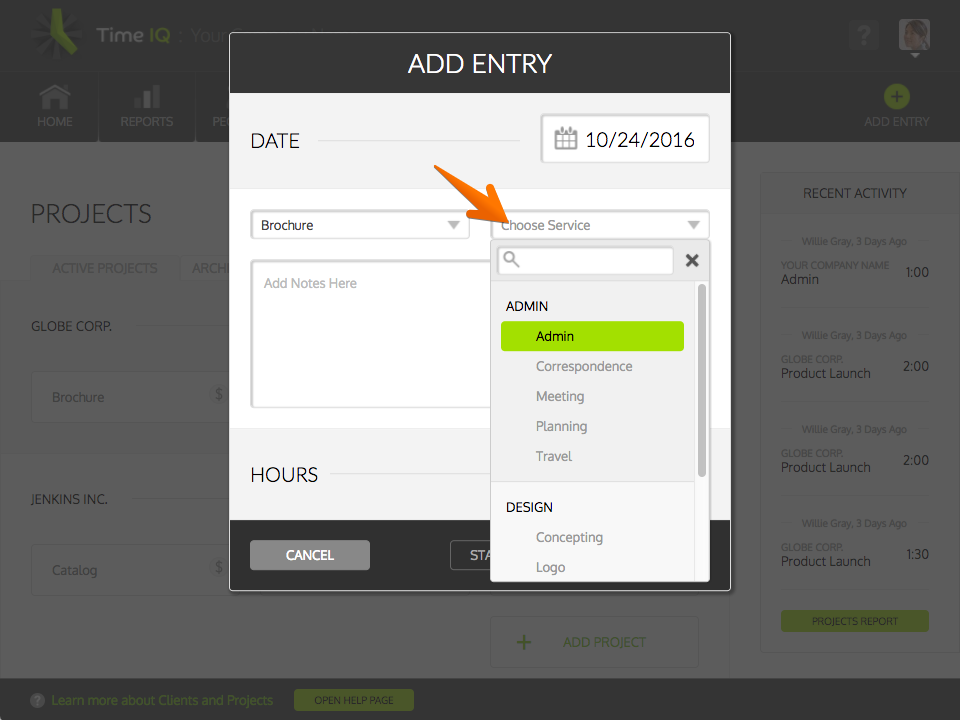 If Services are enabled, you are required to select a Service.
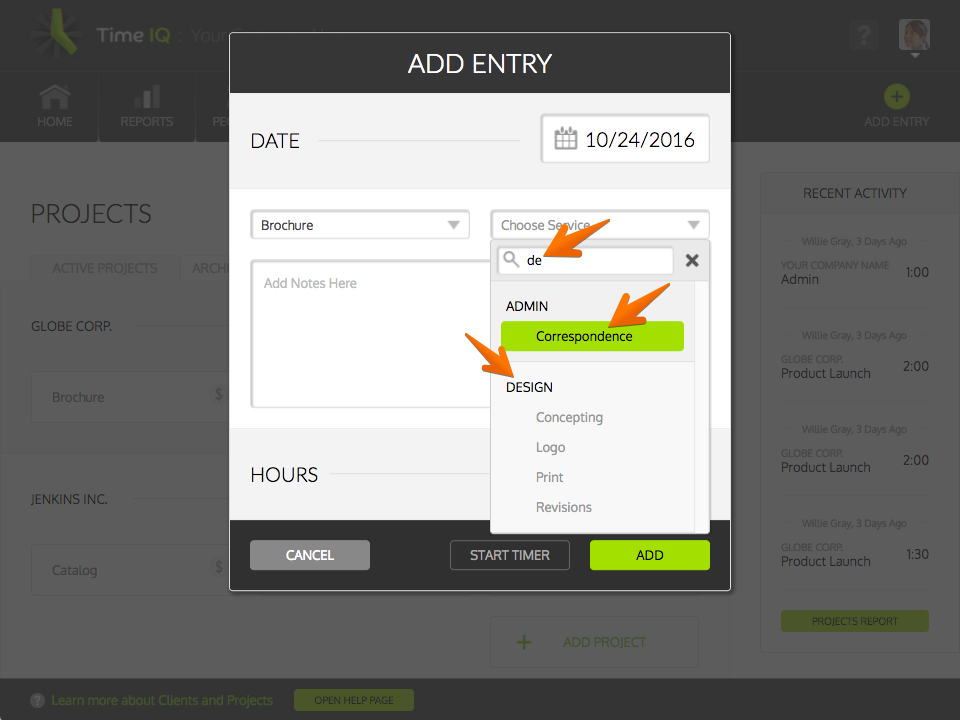 By typing in the Service search bar, you can narrow down the items in the list. Note that searching will match both Service Categories and Services.
4: Enter Notes
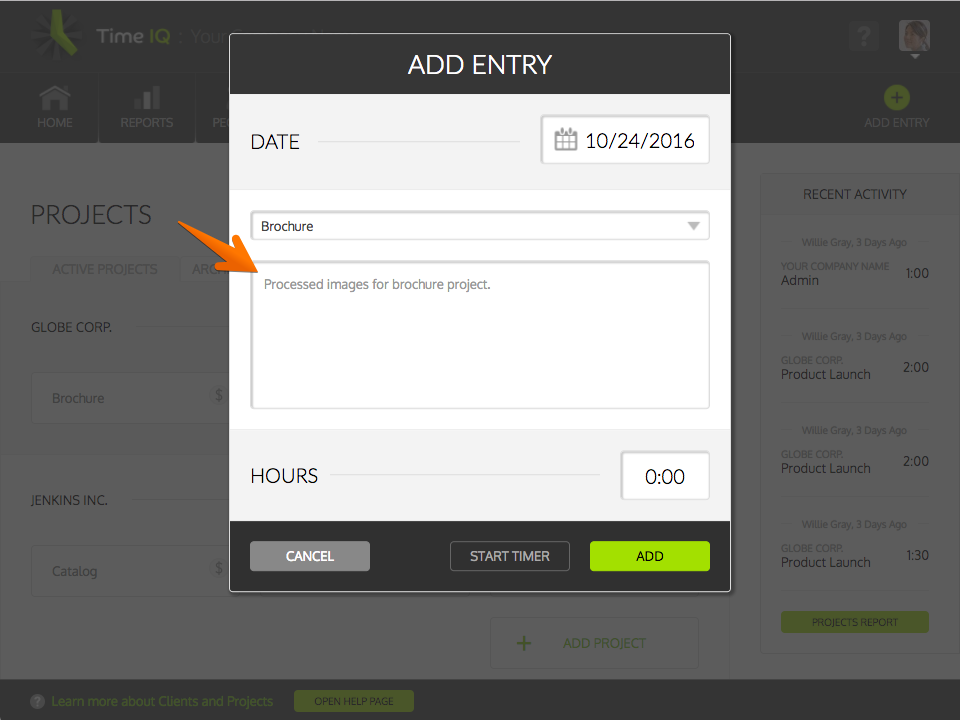 If an Administrator has marked notes as being required, then you will need to enter in notes.
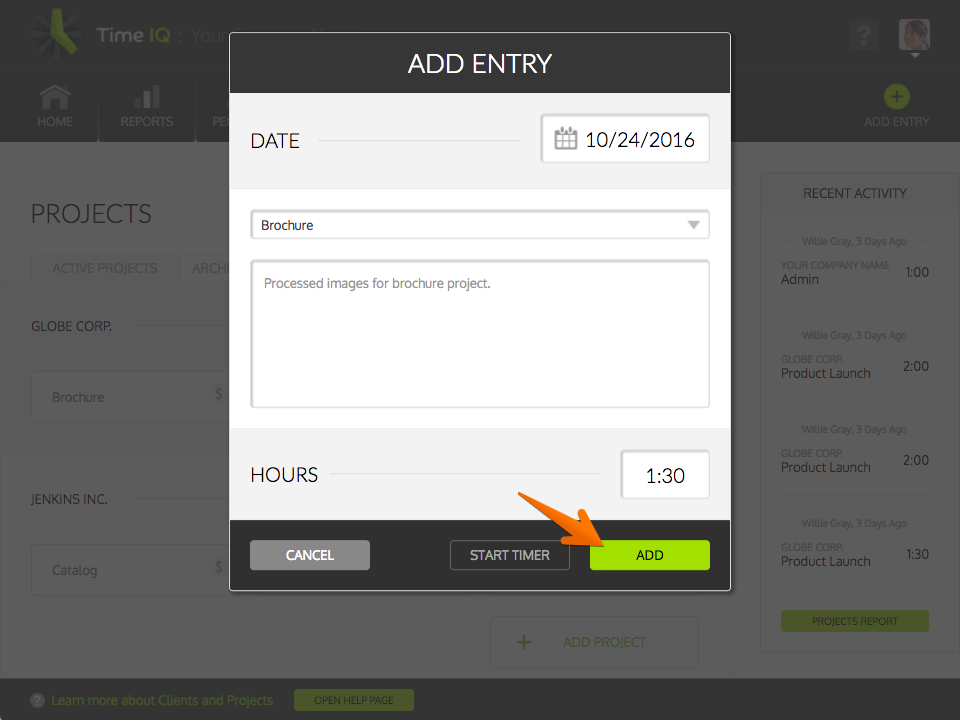
5: Enter Hours (duration-based)
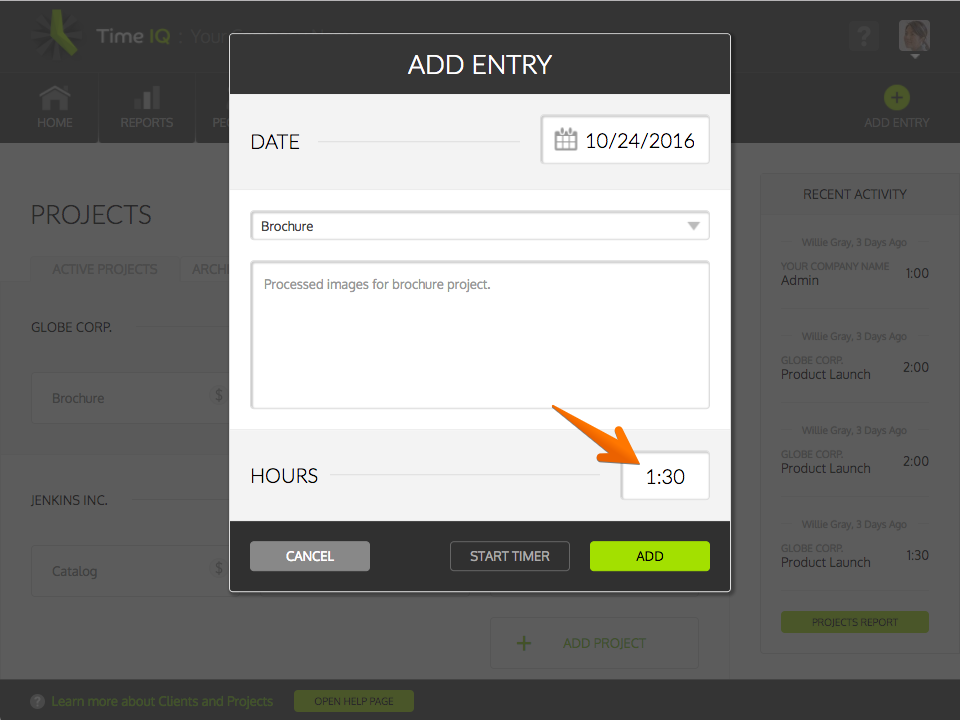 If the Person is set up to enter in duration-based time, enter in the duration of the time entry.
 Duration-based time can be entered in as HH:MM format or decimal format.
6: Enter Start And End Time (start/end-based)
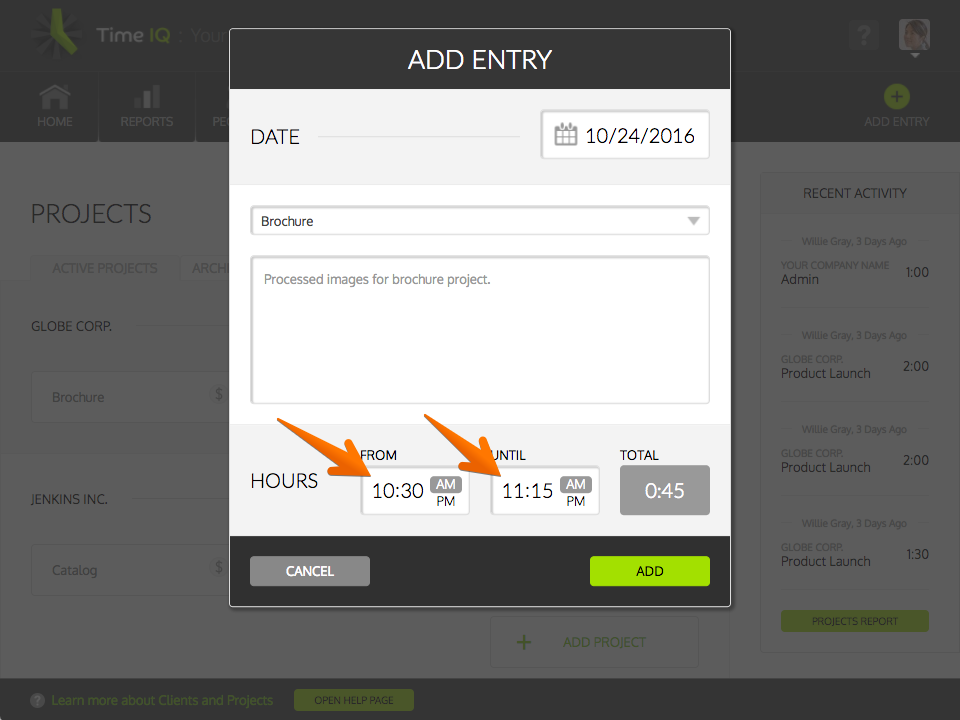 If the Person is set up to enter in start/end-based time, enter in the start and end time of the time entry.
7: Click ‘Add’
Was this article helpful?